Installation
Install GalataJ directly from your IDE’s marketplace. No terminal commands needed.
IntelliJ IDEA
Dział zatytułowany „IntelliJ IDEA”- Open Settings (Ctrl+Alt+S on Windows/Linux, Cmd+, on Mac)
- Go to Plugins
- Click Marketplace tab
- Search for “GalataJ”
- Click Install
- Restart IntelliJ when prompted
Download: Get GalataJ from JetBrains Marketplace →
Requirements
- IntelliJ IDEA 2024.1 or later
- Java JDK 8+ for your application
VS Code / Cursor / Windsurf
Dział zatytułowany „VS Code / Cursor / Windsurf”- Open Extensions (Ctrl+Shift+X)
- Search for “GalataJ”
- Click Install
That’s it — no restart needed.
Download: Get GalataJ from VS Code Marketplace →
Requirements
- VS Code 1.80 or later (also works with Cursor and Windsurf)
- Java JDK 8+ for your application
Download GalataJ CLI
Dział zatytułowany „Download GalataJ CLI”Run the following command in your terminal to install the GalataJ CLI:
powershell -c "irm https://download.galataj.com/install.ps1 | iex"curl -fsSL https://download.galataj.com/install.sh | bashVerify Installation
Dział zatytułowany „Verify Installation”After installation, verify everything works:
- Open the Profiler panel
- Click Health to run a health check
- All items should show green ✓
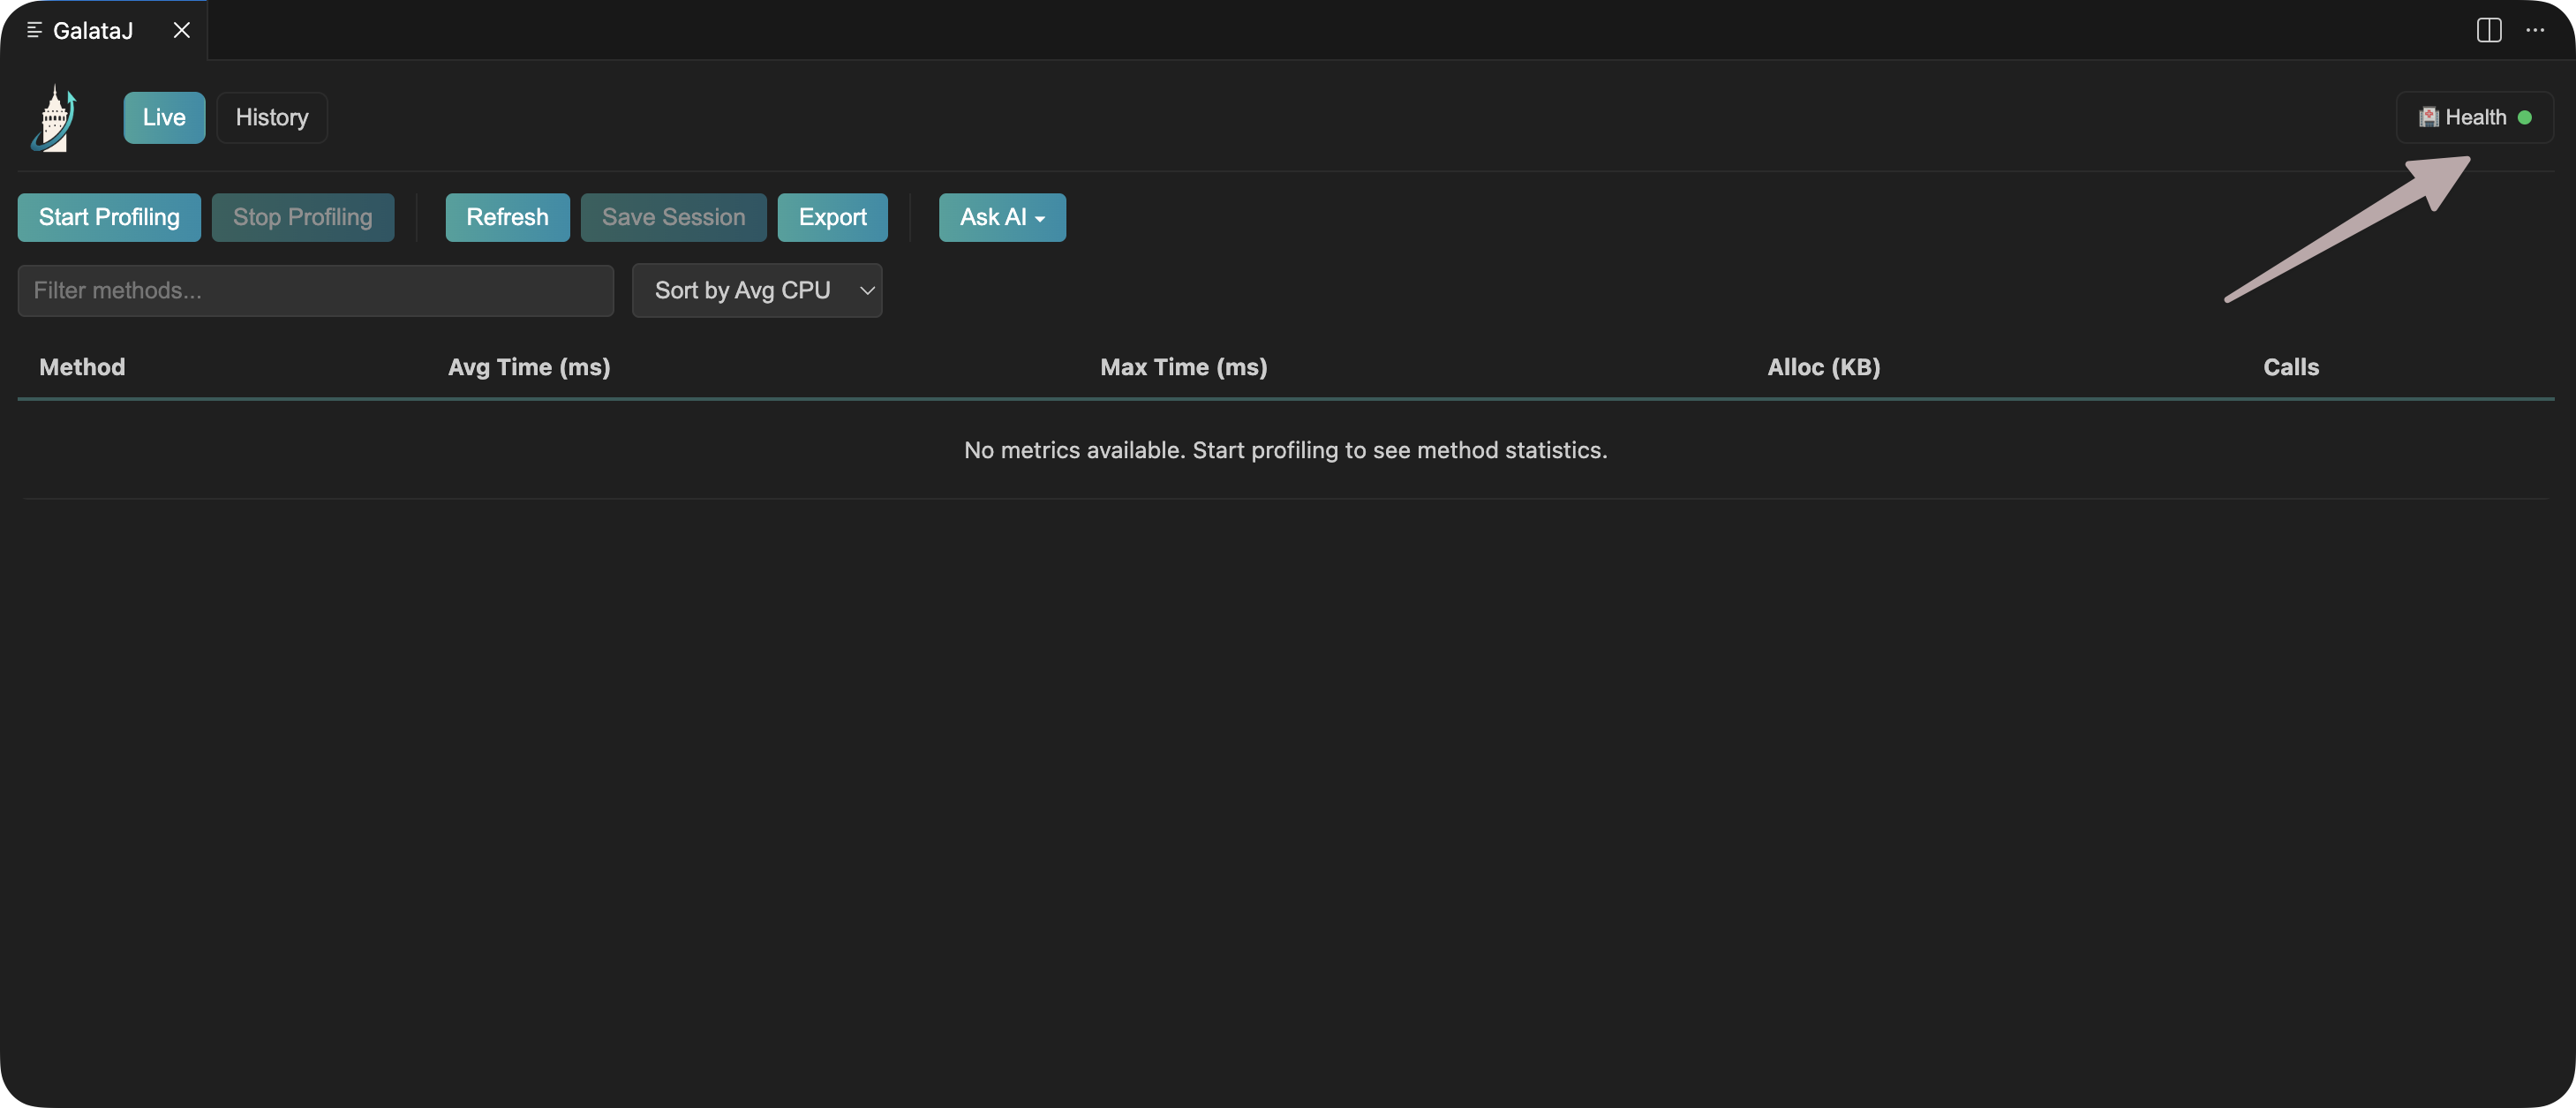
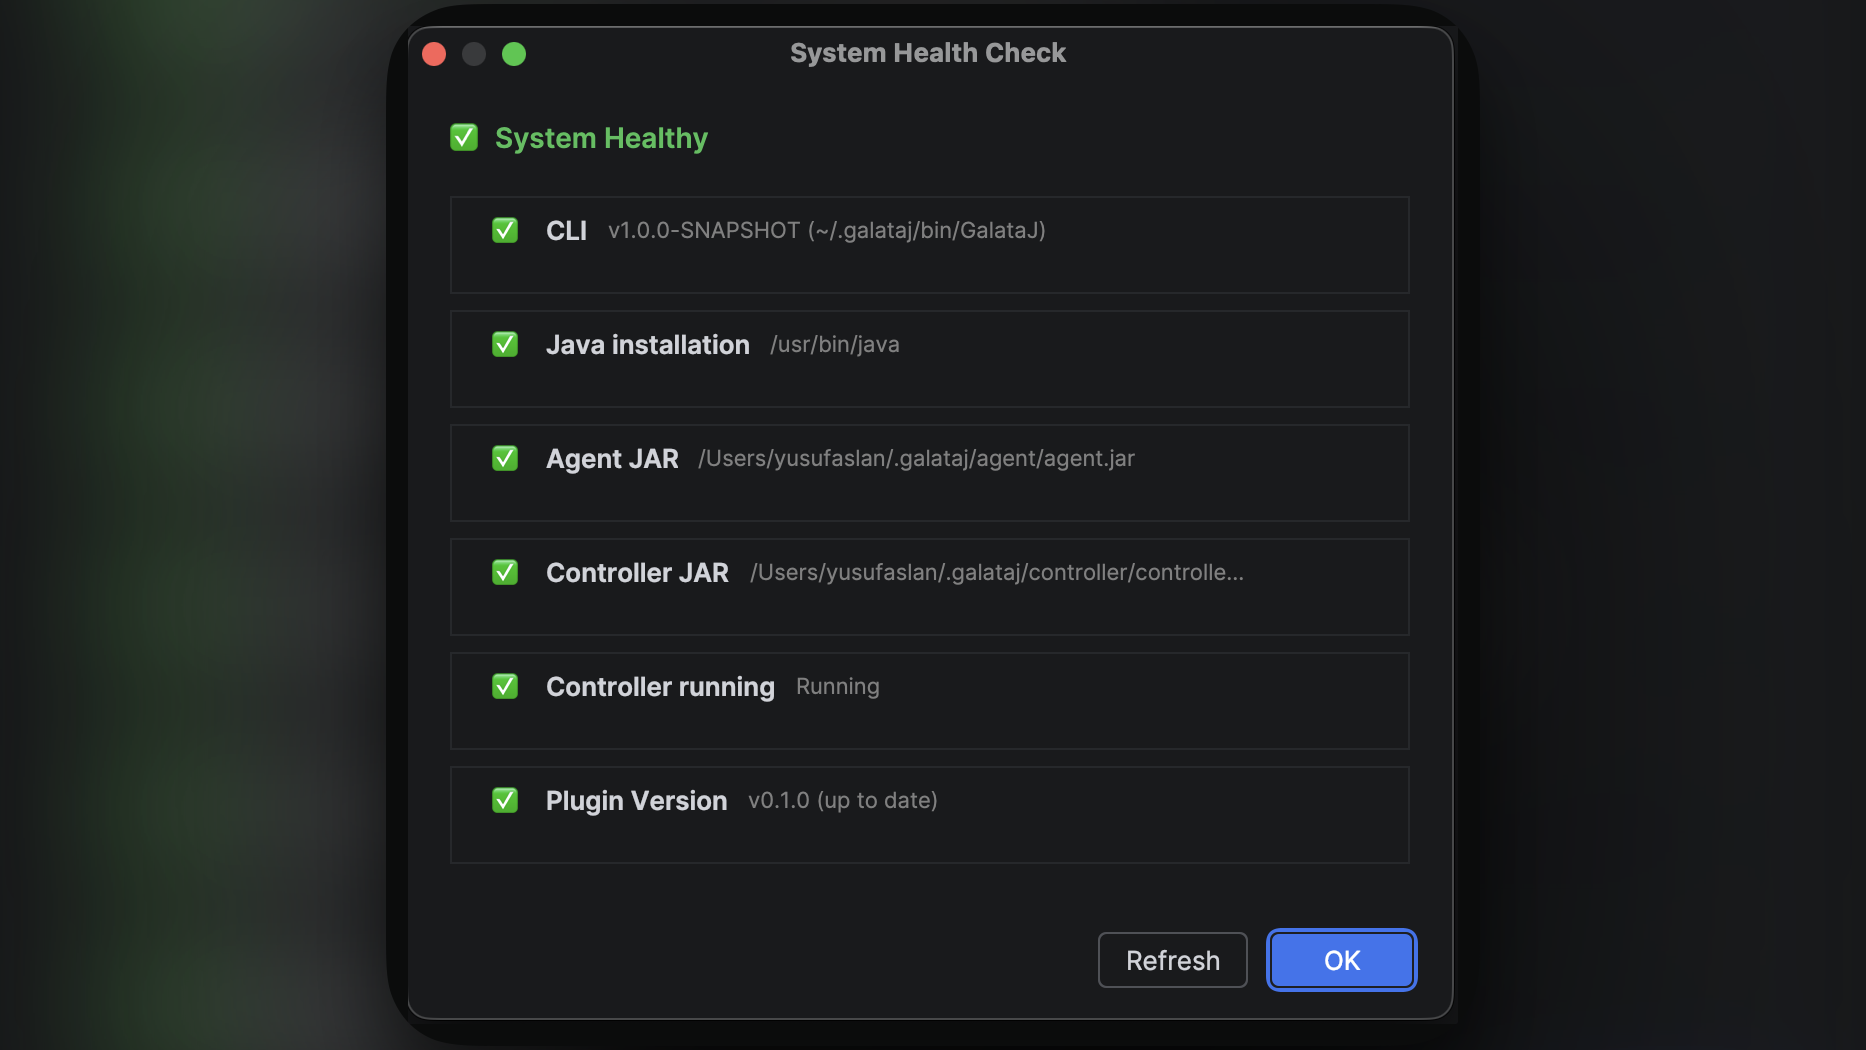
If anything shows red, click the Fix button — GalataJ will handle it automatically.
First Time Setup
Dział zatytułowany „First Time Setup”When you first open the profiler panel, GalataJ may download some components automatically. This only happens once.
Just wait for it to complete, then you’re ready to profile!
What Can You Profile?
Dział zatytułowany „What Can You Profile?”Local JVMs
All local Java apps — Spring Boot, Maven, Gradle, standalone JARs
Free
Next Steps
Dział zatytułowany „Next Steps”Troubleshooting
Dział zatytułowany „Troubleshooting”Plugin not appearing after install
Dział zatytułowany „Plugin not appearing after install”Restart your IDE and try again.
”GalataJ” not found in marketplace
Dział zatytułowany „”GalataJ” not found in marketplace”Make sure you’re searching in the correct marketplace:
- IntelliJ: JetBrains Marketplace (not from disk)
- VS Code: Visual Studio Marketplace
Health check shows errors
Dział zatytułowany „Health check shows errors”Click the Fix button next to each error. GalataJ will attempt to resolve it automatically.